


making nuclear fusion in your kitchen
livestreaming a nuclear fusor assembly for 36 hours in your kitchen

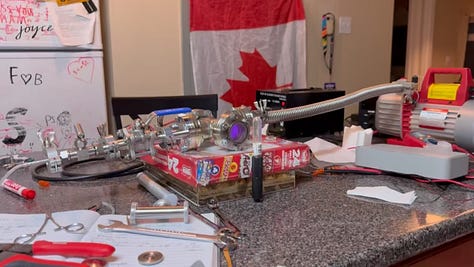
Over the last few days, right before I had to take a flight back home to Sri Lanka for Christmas, I was able to pull together and build my fusor during a 36-hour live stream amidst an empty kitchen. Those hours were surreal, hammered by a barrage of missing parts, fried transducers, and hardware stores closed for Christmas Eve.

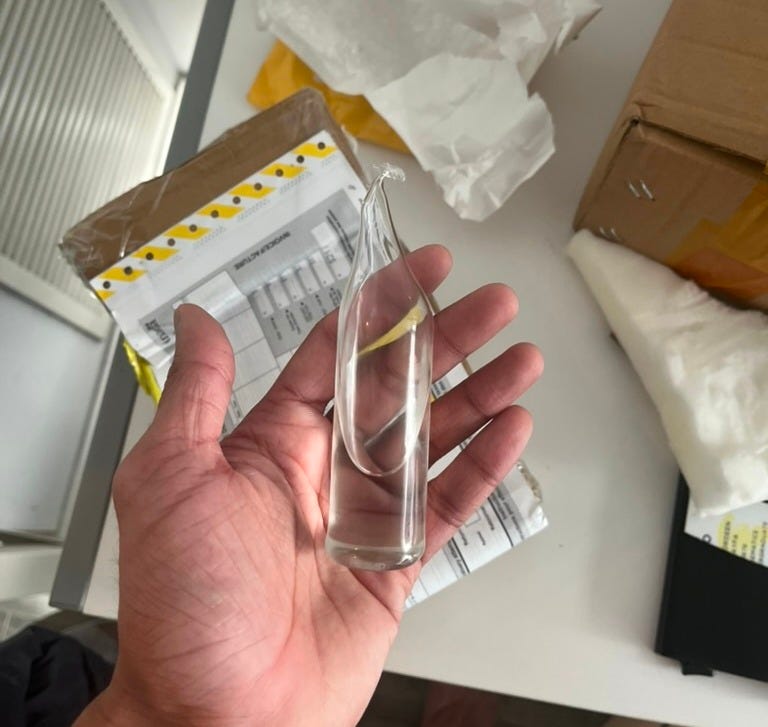
I was skeptical if this was even achievable, especially after a recent Canada Post strike that prevented many critical parts from coming in. But on the last day, before I had to move out from Toronto, a UPS driver dropped off a last package. It was a tiny glass ampule of heavy water. This is what I would use to electrolyze into deuterium—the fuel required for fusion.
oh hudzah built a fusor?
Was a running joke within my friend group. I didn’t intend for the demo version of the fusor to have gotten the attention it did – I mainly posted it as a means of having a shareable link to get a grant for building the full version.
My intended goal was to be able to detect neutrons. When two ions of deuterium fuse, they have a chance to produce a helium-3 atom and an extra neutron. Capturing this neutron was the goal.

what was different?
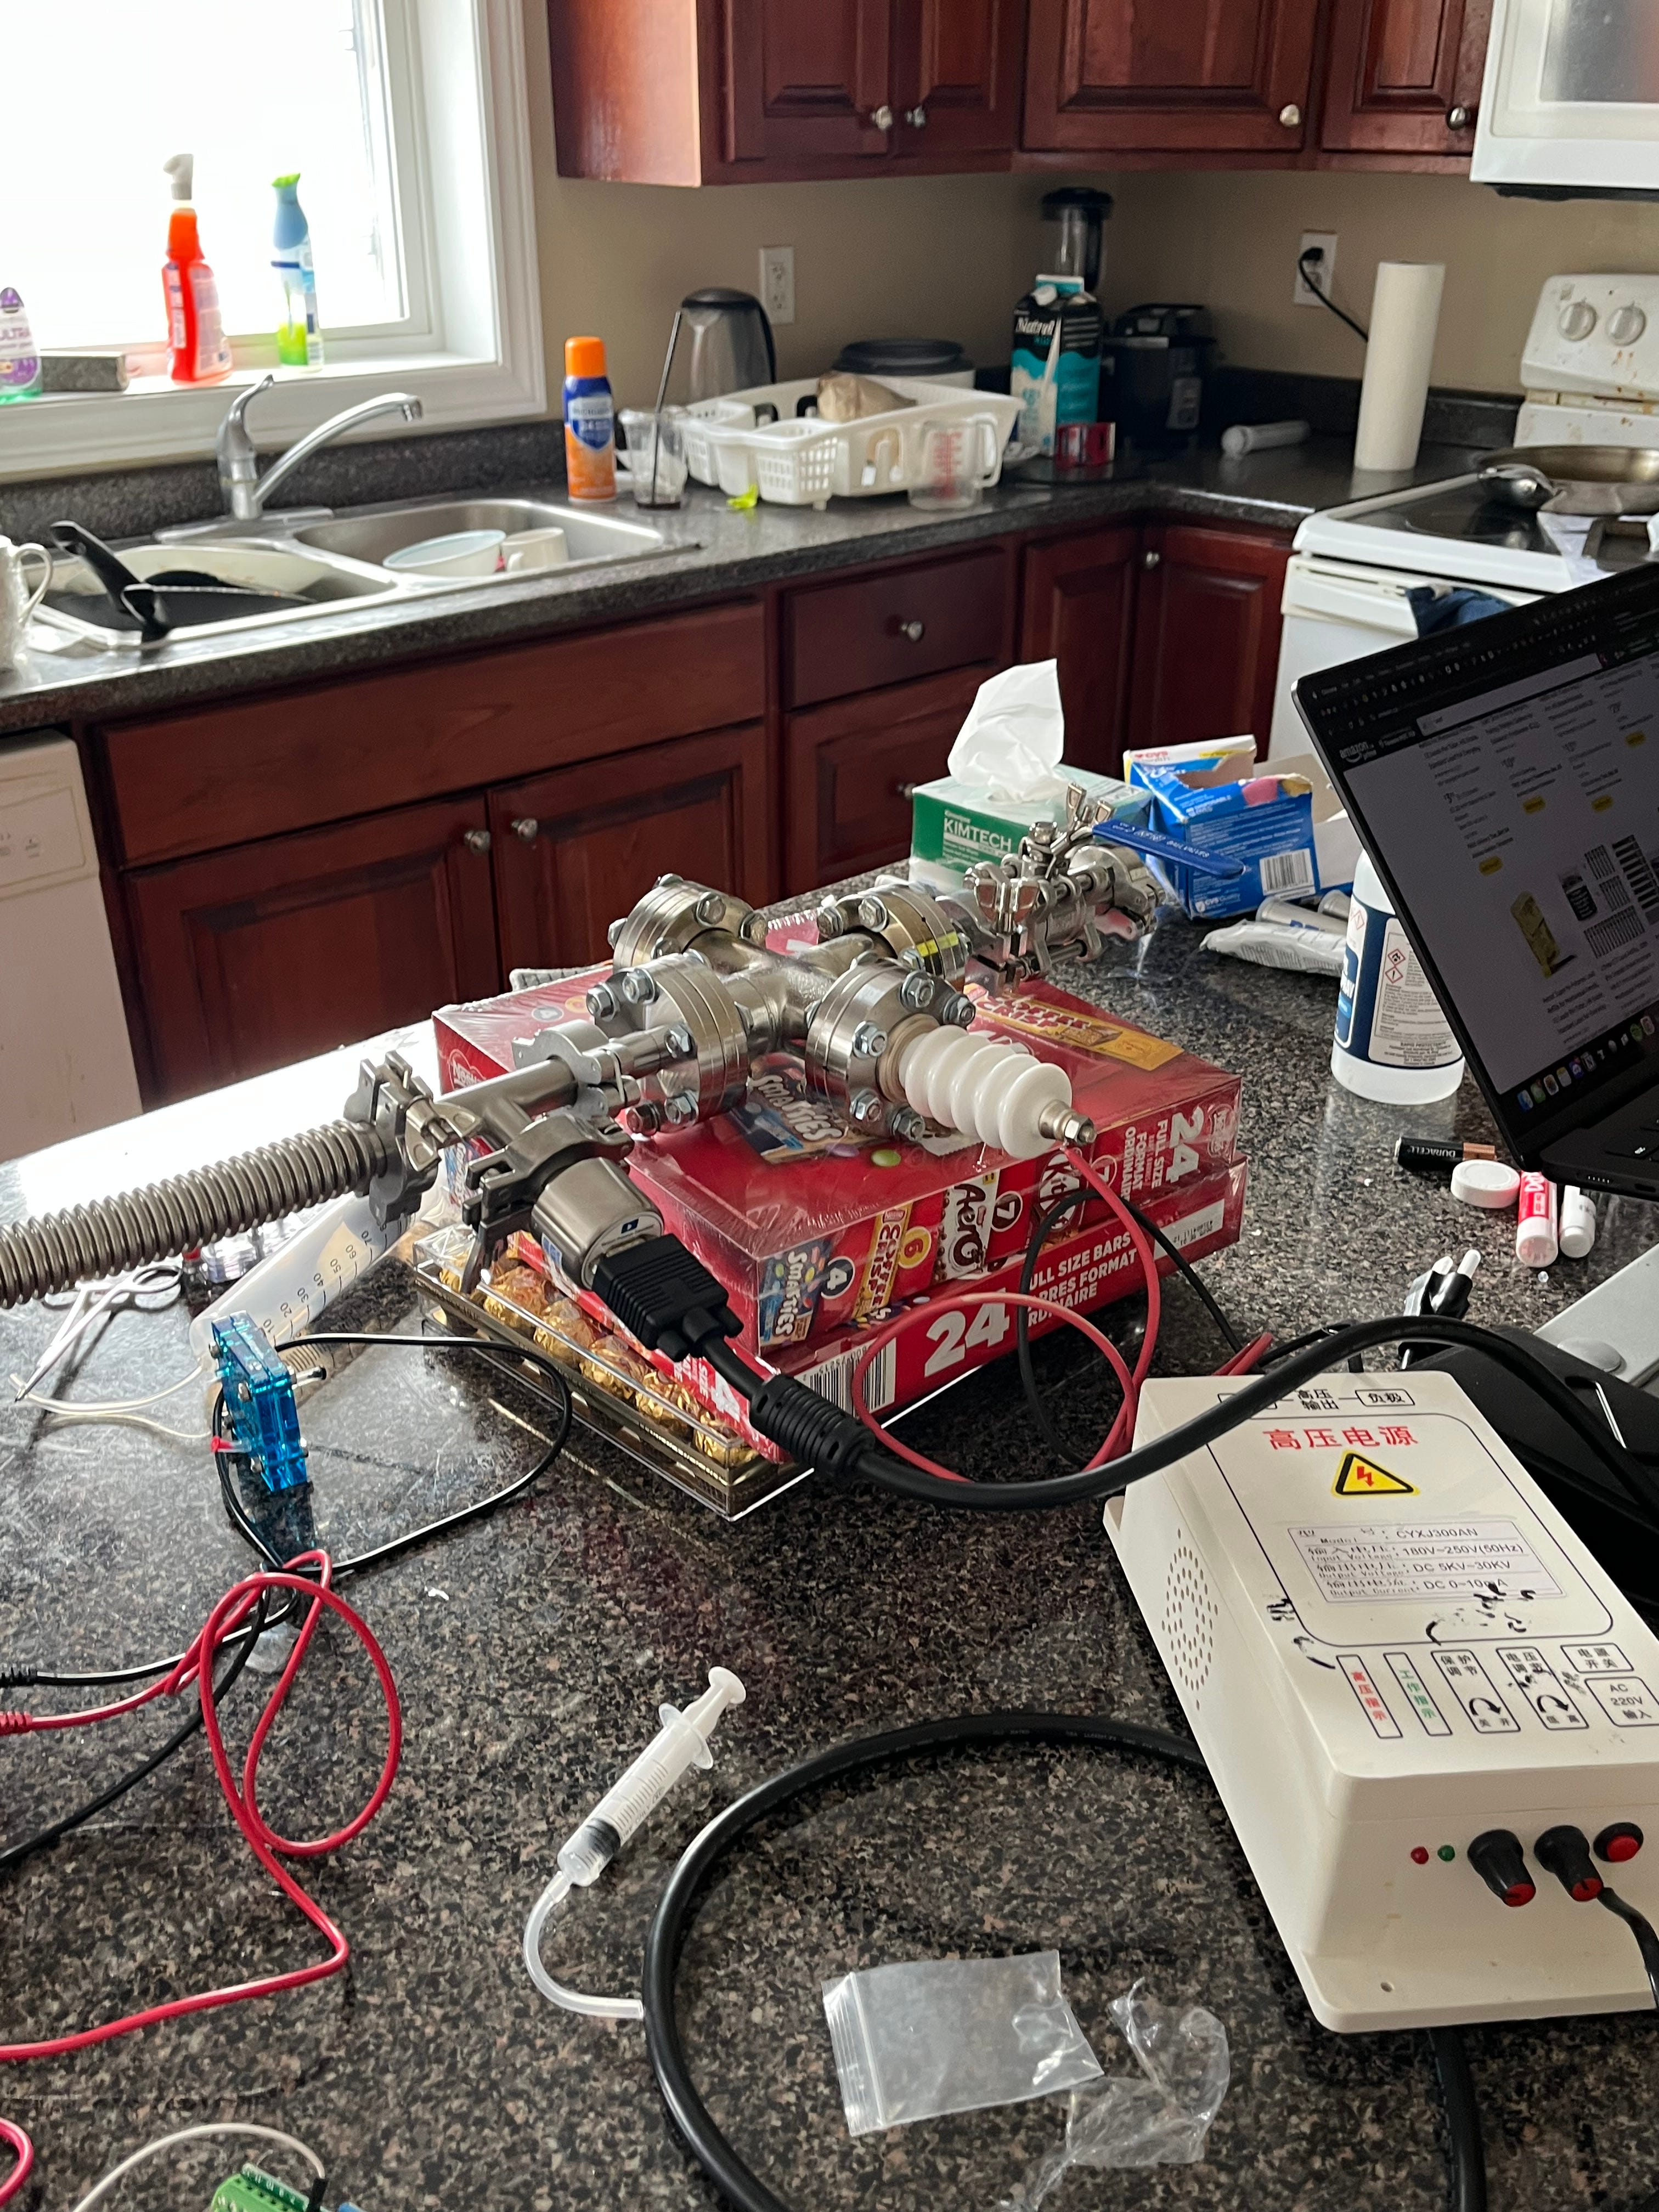
The setup looked entirely different, no more lazily machined parts or hastily tightened screws but a much more intricate setup process. This included having to double glove, isopropyl alcohol for cleaning and star patterns for tightening bolts. To summarize a lot of the changes:
Most of the parts were sourced from eBay, with the chamber no longer custom-built and instead using standard ConFlat vacuum crosses.
The voltage needed to be upped from 12kV → 30kV+. Weirdly the power supply for the 30kV was extremely cheap ($60) and somehow worked.
We needed a much lower vacuum than before, plasma is capable of being produced at even 100mTorr+, but for fusion, we needed between 5-15 mTorr of pressure.
A custom welded inner grid made out of tungsten - no more protein shaker ball :(
Actual deuterium fuel and neutron detection were probably the most unknown part of the whole setup.


engineers overengineer things
vacuum system
This was one of my biggest takeaways from this. I noticed this when doing a BOM breakdown for everything I needed and noted that the most expensive parts of the setup: the high voltage system and the vacuum pumps
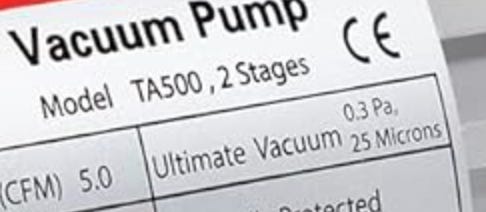
The usual advice was that you need a 2-step vacuum pump system to get to single-digit mTorr pressure levels.
a rotary vane pump
a turbomolecular pump that further decreases the pressure
Both of these together can cost you several thousands of dollars and can be extremely time-consuming to even find one on eBay. But what one fusor.net post showed me was that you could use a simple $120 KozyVacu dual-stage rotary vane pump from Amazon to achieve fusion! But because the pump’s ultimate vacuum is 2.5 mTorr/microns you do have to make sure that:
You flush out your pump of contaminants using the original vacuum oil they give
Then use a very specific inland® 19 ULTRA Rough Pump Oil and heat it up
Finally, make sure every fitting, gasket, and attachment is perfectly vacuum sealed because you have no room for error.
The last point is what scared me the most. For the demo fusor, I spent around 1.5 weeks just debugging, and now I only had 1.5 days to build and debug from start to finish.
high voltage
Getting 30kV at 10mA is a very specific amount of power that is very rare to find. That too, you want it to be -30kV because your grid is attracting positively charged deuterium ions. Most lab-grade power supplies cost around ~$5k for these and were significantly hard to find. I stumbled across these sketchy electrostatic precipitators on Aliexpress that were capable of this voltage but at their price point of $60 (sixty), having no ground wire and a build quality that consisted of a plastic shell, it smelled fishy.
I personally didn’t care too much and decided to try it anyway. I got a lot of backlash for this, but in hindsight, it was the right decision.
With all these optimizations, I was able to bring down the cost of this fusor from an initial $15k to $3k. And honestly, you could even do it for <$1k!
electrolyzing deuterium
This could have also been a messy and complicated setup! Instead, I found out that you could use a children’s fuel cell car kit to extract a PEM (proton exchange membrane) from it and be able to produce deuterium gas from it.
The other fascinating thing is how difficult it is to source deuterium gas. Most require specific credentials and are only sold in 500L+ quantities. But by doing some quick napkin math, you can quickly figure out that electrolyzing your own D2O → D2 gives you a ridiculous yield.
The equation 2 D2O → 2 D2 + O2
assuming perfect yields: 1 gram of D2O is 20g/mol, so 1/20 moles. 1 mole of any gas occupies 22.4L at STP, and so 0.05 moles will occupy 0.05 × 22.4 L = 1.12 liters of D2 gas
I purchased 50g of D2O for around $80, this would cost $1.6/g OR $1.43/L of D2! Whereas purchasing a tank of D2 would cost hundreds to thousands of dollars.

live streaming
Tommy visited my apartment in Toronto and inspired me to livestream the build setup. Here’s an hourly breakdown of what happened:
hour 0-6
Organize all our parts in the empty kitchen and wipe down everything.
Glove up and start assembling the main chamber with copper gaskets and flanges.
Start setting up a vacuum transducer to measure pressure. We used an MKS-901p.
Flushing out our vacuum pump and getting the oil hot by keeping it running for around 3 hours.
Teflon tape all our vacuum joints and use high vacuum grease. We get down to 3 mTorr on the first try when attached to the transducer!
Everything is going excellent so far – which terrifies me.
hour 6-12
Tommy and James join us
We learn how to read Mandarin to understand how our electrostatic precipitator works.
Finished building the entire setup including the high voltage feedthrough, deuterium input and elbow hose from the vacuum pump to the chamber.
Connect power supply wiring to HV feed and the chamber.
Spend multiple hours debugging why our PEM cell wasn’t working. We were struggling to electrolyze our heavy water. Turns out our syringe was sticky and the gas pressure wasn’t enough to push the syringe so it backfilled into the PEM cell.
We produced 100ml of D2!
Did a quick test vacuum run on the entire setup and pulled 2.5 mTorr! So excited!
hours 12-24
Nap time
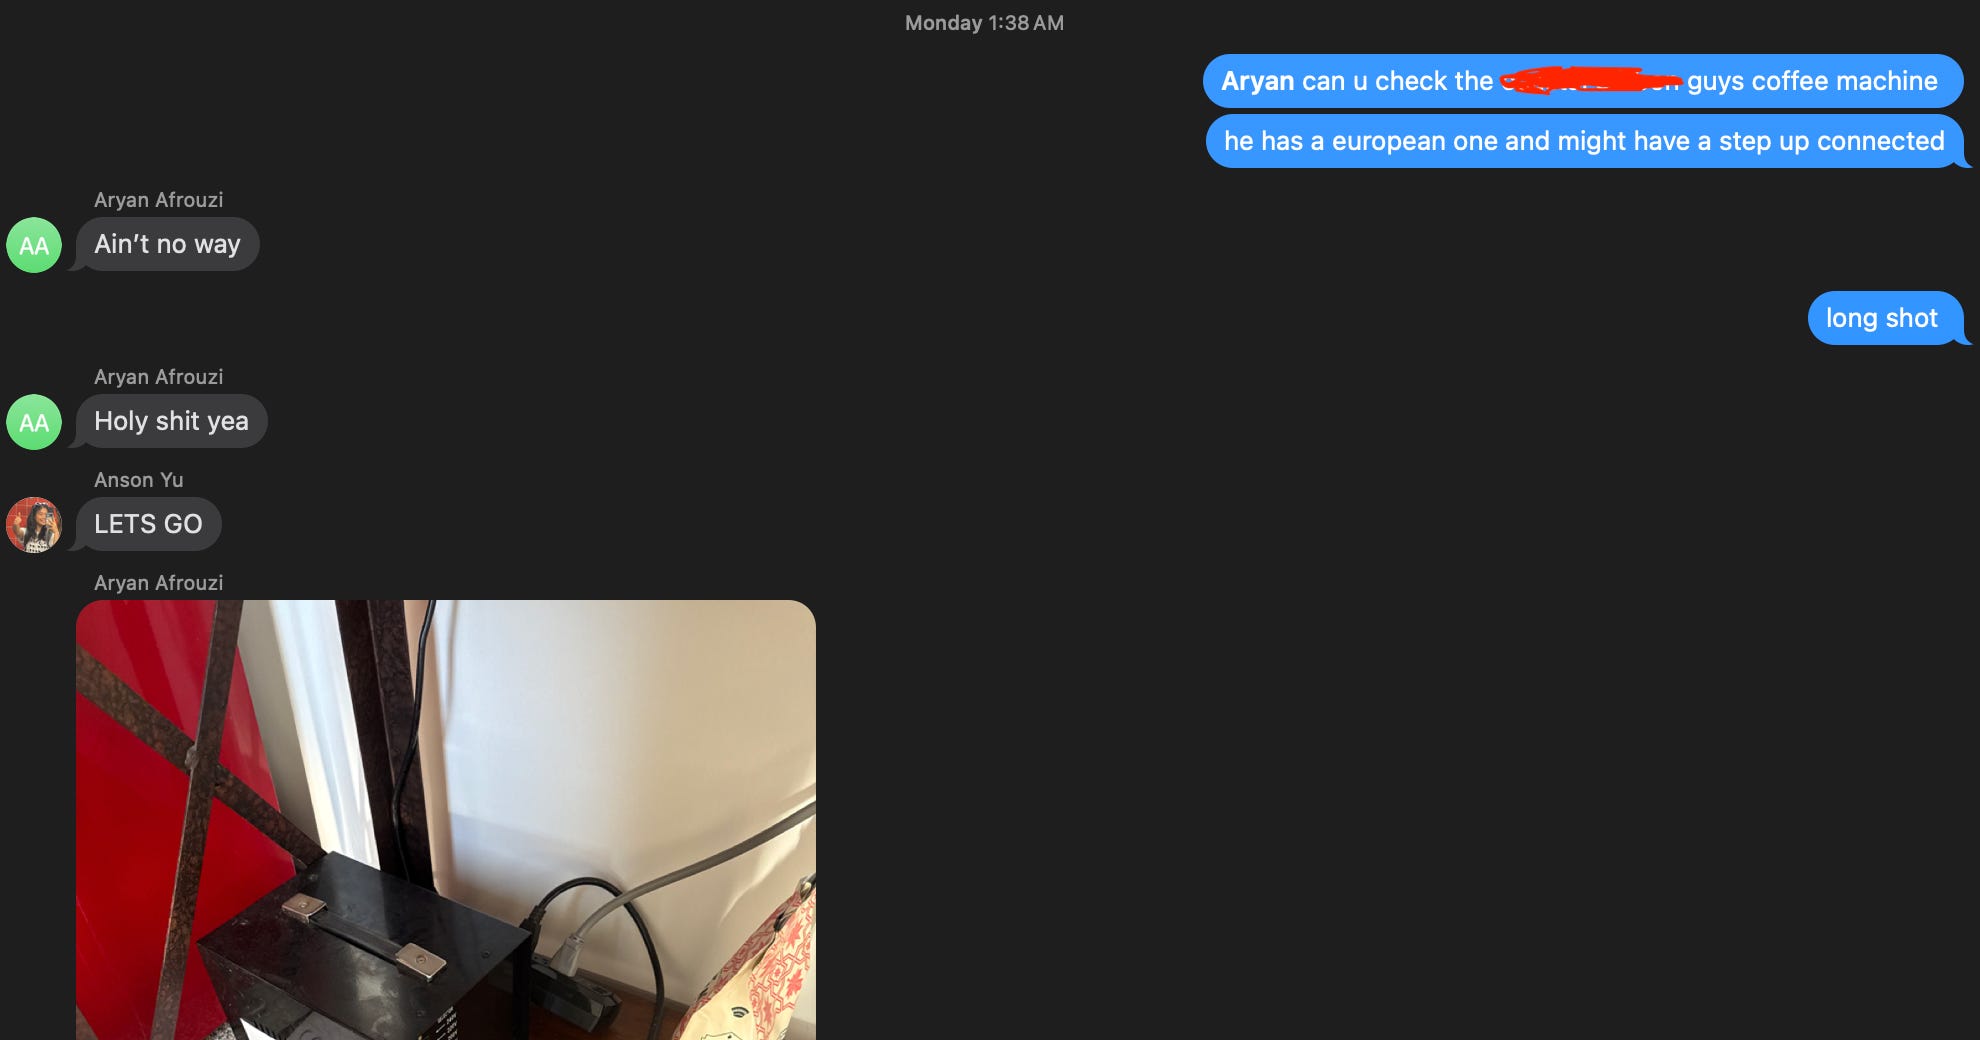
Spent many hours searching for a 120 → 220V step-up transformer for our power supply. I ended up calling every hardware store in Waterloo to try and find one but got lucky with finding this one. Shout out Aryan who helped with this!

hours 24-30
Lots of debugging with the inner grid, I welded it poorly and it kept short-circuiting the system because it kept touching the chamber wall.
Disaster strikes – the grid arcs with the chamber wall and fries my vacuum sensor – one of the most important parts of the setup
I am now basically driving blind, but I knew my system could go down to a certain pressure, so I ran with it.
This was difficult to deal with
I redo my grid and painstakingly center it so it doesn’t touch the chamber walls. I also take care to be very granular with increasing the voltage.
hours 30-33
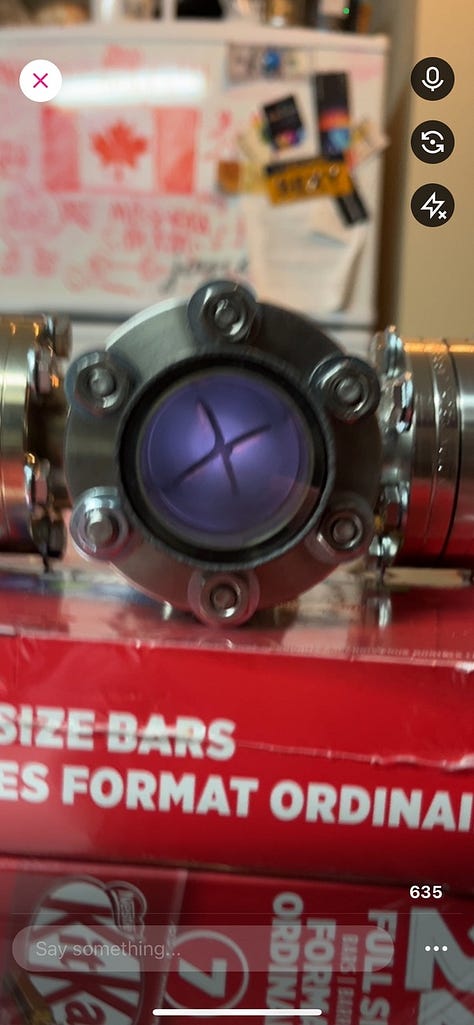
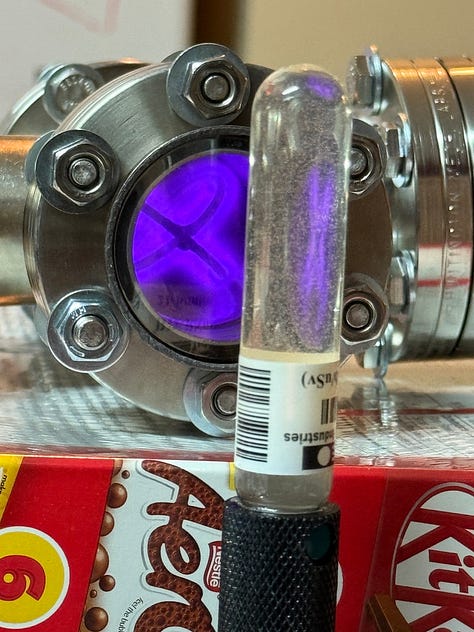
After fixing the above, we finally got plasma! It was huge.
We now setup the deuterium input, and slowly turn on the needle valve to input D2.
I didn’t have lead sheets so I turned the system on, opened the needle valve for the deuterium to be let it and ran to my room to hide!
And there she is


Ok thanks for everything!
this is how innovation happens
Wow!
This actually IS a fusion done in your kitchen!
Incredible times to be alive!
Thank you sooo much for sharing this!